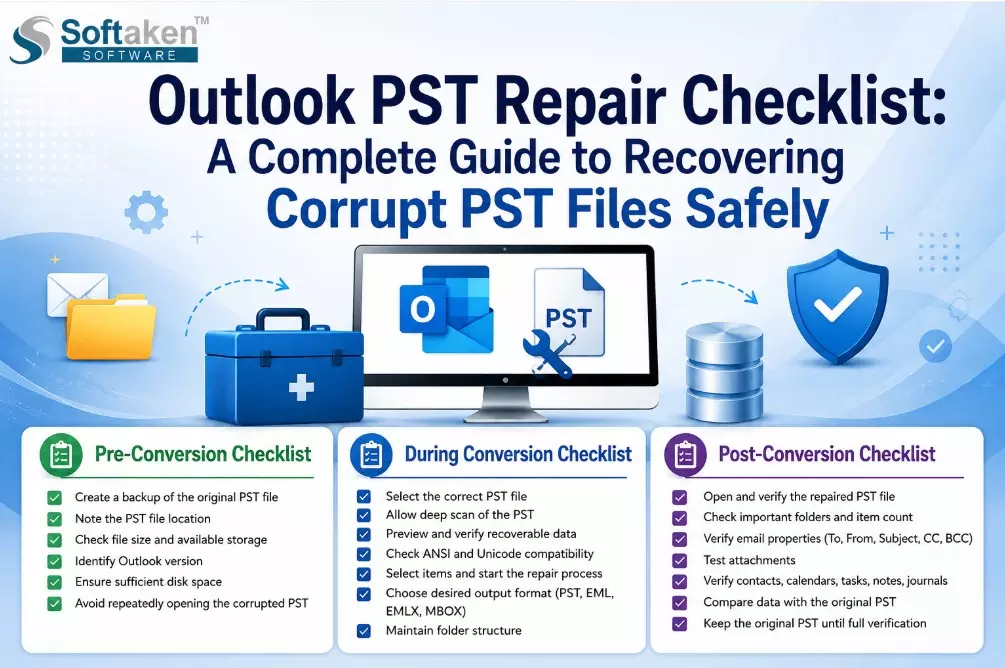
Outlook PST Repair Checklist: A Complete Guide to Recovering Corrupt PST Files Safely
An Outlook PST file may contain years of important emails, contacts, calendars, notes, tasks, journals and attachments.
If the file is damaged, corrupted, or inaccessible, you may get errors from Outlook when you try to access it, or you may find that folders are missing, or mailbox data is incomplete.
A structured repair checklist can help users avoid common mistakes and improve the odds of recovering important information.
This guide describes what to look for before, during, and after PST repair, such as making a backup, identifying the type of PST, checking file accessibility, scanning the file, previewing recovered data, choosing an appropriate recovery method, and verifying the repaired mailbox.
This checklist is useful for Outlook users, IT administrators, and organizations that have to deal with damaged or inaccessible Outlook data.
Causes for Outlook PST File Corruption
PST corruption can be caused by many reasons such as an abrupt system shutdown, storage problems, oversized or damaged data files, software problems, Outlook operations that are interrupted and other file-system problems.
Before trying to fix it, it is important to make sure the problem is with the PST file itself. There are times when a PST may appear corrupted due to Outlook profile problems, permissions problems, or lack of disk space.
Therefore, a thorough diagnostic process must precede recovery.
Pre-Conversion Checklist
1. Backup Original PST: Always take a copy of the corrupted PST before recovery. Make sure to save the original file intact in case the repair process does not produce the desired result.
2. Take Note of the PST File Location: Note the complete path of the corrupted PST file. This makes it easier to select the right file when scanning, and prevents you from inadvertently working on an outdated copy.
3. Verify the File Size: Check the size of the PST before starting recovery. In post-repair verification, an additional reference can be obtained by comparing the original file size with the recovered output.
4. Version of Outlook: Identify which version of Outlook created or last used the PST. According to the product information, the recovery software supports PST files of Outlook 2019, 2016, 2013 and other editions.
5. Check Available Storage: Ensure that there is enough free space on the destination drive to recover the data. The published system requirements specify 100 MB free disk space to install the software, but the actual recovered mailbox may require additional space.
6. Stop revisiting the damaged file again and again: If you get the same error when trying to get into the PST in Outlook, do not try to fix it yourself. Work from the backup copy whenever possible.
Read: Best Email Service to Use for Business in 2026
During Conversion Checklist
7. Choose the correct PST file: Open the Softaken Outlook PST Repair tool and load the corrupted PST file. The software is developed to repair corrupt and inaccessible PST files and recover mailbox items like emails, contacts, calendars, notes, tasks and journals.
8. Enable PST scanning: Let the application scan the file that was chosen. The deep-scan feature scans the PST file and displays all the recoverable mailbox data in a tree-style preview.
9. Preview review: Do not immediately export everything. First, look at the folders and messages displayed.
Check:
- Mailbox
- Outbox
- Items deleted
- Drafts
- Custom folders
- Contact
- Calendar events
- Note
- Activities
- Journals
The preview enables users to preview the recovered content and select the items they want.
10. Verify Compatibility with ANSI and Unicode: If you are not sure about the type of PST then make sure that the recovery application supports it. The product documentation asserts that it can recover ANSI and Unicode PST files.
11. Choose Repair Option: Once you’ve reviewed the contents of the scan, select the Repair/Recovery option and then continue with the mailbox items needed.
12. Select the Proper Output Format: The retrieved information can be stored in different formats. The documentation published is:
- PST
- EML
- EMLX
- MBOX
This provides users with the freedom to repair the mailbox if required and then migrate the recovered emails to any other email platform.
13. Preserve Folder Structure: If you restore mailbox data, be sure to preserve the original folder hierarchy. This is especially important for business users with many years of categorized mail in their mailboxes. The product information states that the folder hierarchy is maintained during export.
Post-Conversion Checklist
14. Open Recovered PST: After the recovery is complete, open or import the created PST in a compatible Outlook environment and verify if it loads correctly.
15. Review Important Folders: Check important folders and compare the recovered mailbox to the original data.
Please be advised:
- Items Sent
- Archived folders
- Removed Items
- Custom folders
16. Check Email Properties: Open representative messages and check important properties like Subject, To, From, CC and BCC. The software says that these email properties can be recovered.
17. Attachments Test: Open some of the recovered emails that have attachments and ensure the attachments can be opened and used.
18. Check Contacts & Calendars: Verify contacts, calendar entries, notes, tasks and journals as these could also be part of the recovered mailbox data.
19. Compare Recovered Data: Compare sampling of original mailbox information with repaired output. Review folder names, message count, attachments and important correspondence.
20. Save to Original PST: Do not remove the original damaged PST immediately. Keep it until you’ve verified the recovered data and backed it up heavily.
Checklist for Free Trial
The trial version allows users to check out the recovery process before buying a license. As per the official
product information, during the trial you can repair a corrupt PST and preview recovered items however you can only save the first 10 items per folder.
Use the trial to check if:
- The PST is found to be damaged.
- Preview displays the folders that are required.
- Important emails can be accessed.
- Attachments are shown.
- Contacts and calendar information can be recovered.
- After licensing the required data can be saved.
Best Practices Checklist
- Before you think the recovery is over, be sure to:
- Backup of original PST.
- Checked the folder structure of the retrieved folder.
- Reviewed time-sensitive emails.
- Test attachments.
- Verified contacts and calendar details.
- Email properties validated.
- PST recovered successfully opened.
- Made a second backup of the recovered data.
- Original PST was retained until verified recovery.
Conclusion
Repairing a corrupt Outlook PST is a tricky job and should not be treated as a mere file opening issue.
A structured checklist allows to reduce unnecessary risks and to check more easily if important mailbox data have actually been restored.
Softaken Outlook PST Repair can deeply scan, preview, support both ANSI and Unicode PST files, recover various mailbox items and save them in PST, EML, EMLX, MBOX file formats.
According to the official product information, it does not require Outlook to be installed for PST recovery.
The most important practice is to save the original PST, check recovered data before finishing the recovery and after that, cross-verify emails, attachments, contacts, folders and calendar information.
This gives users a controlled way to deal with corrupted Outlook data and ensures that the recovered mailbox is actually usable.