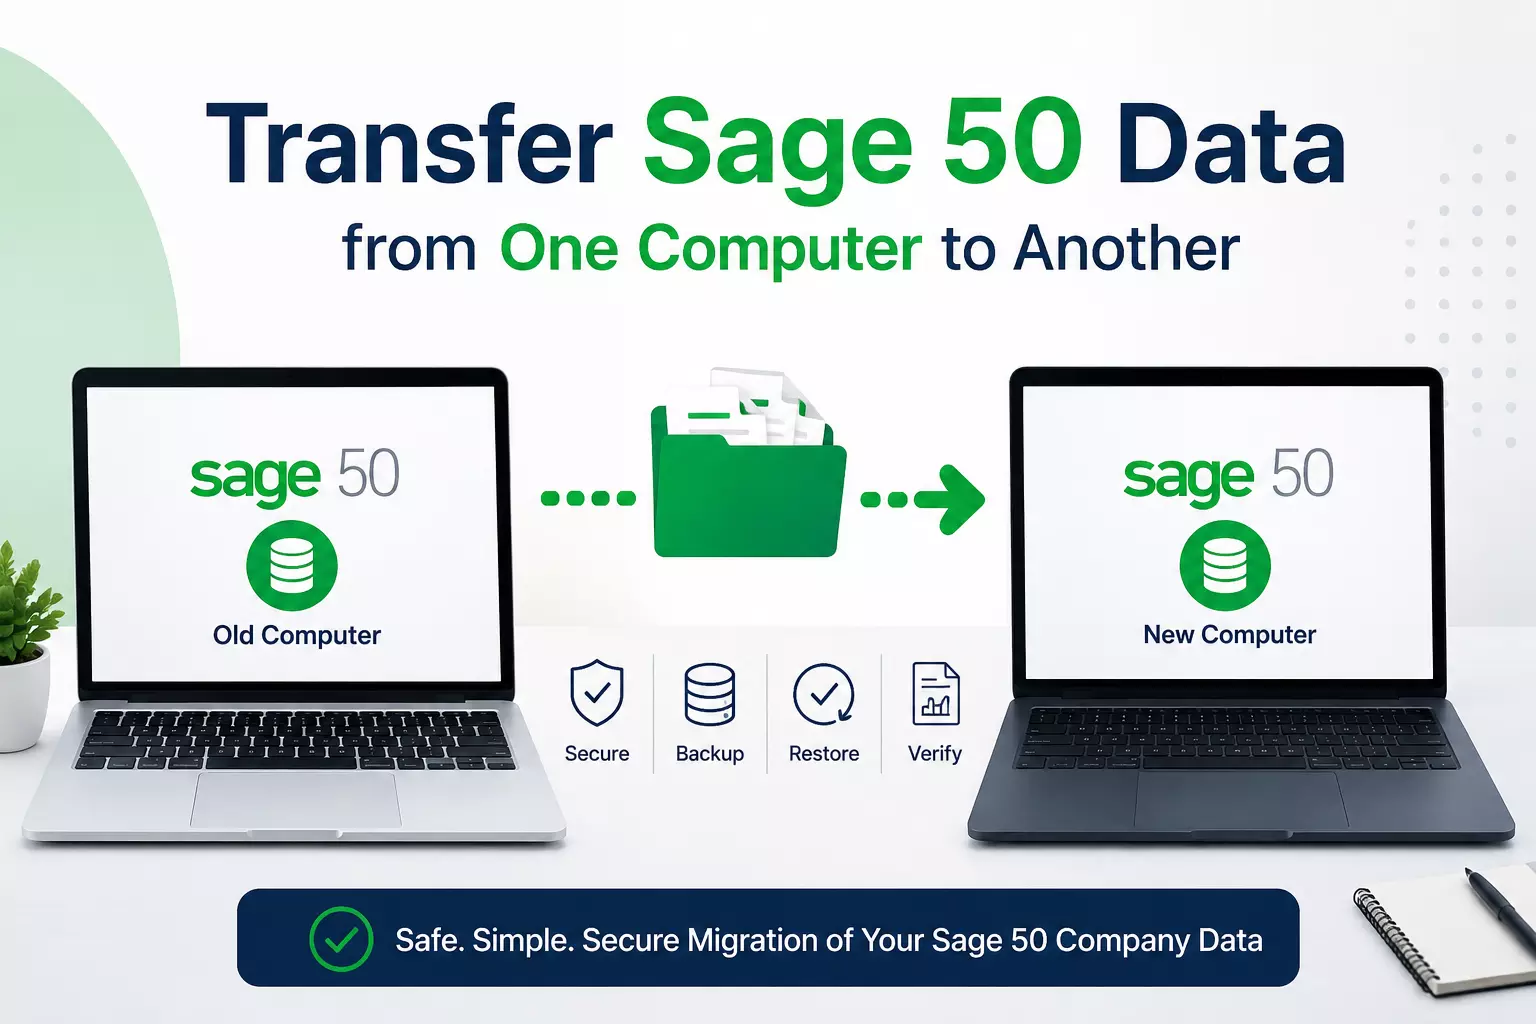
Transfer Sage 50 Data from One Computer to Another
Transferring Sage 50 data from one computer to another is a common requirement when upgrading hardware, replacing an old workstation, or moving accounting operations to a new system.
A successful transfer ensures that company files, customer records, vendor information, payroll data, and financial reports remain intact and accessible without disrupting business operations.
Why Transfer Sage 50 Data?
Businesses may need to move Sage 50 data for several reasons, including:
- Replacing an outdated computer
- Upgrading to a newer version of Windows
- Setting up a new workstation for the accounting staff
- Recovering from hardware failure
- Migrating company data to a different office location
Regardless of the reason, following the correct transfer process helps prevent data corruption and loss.
Steps to Transfer Sage 50 Data to Another Computer
Below is the step-by-step guide to Transfer Sage 50 data from one computer to another
1. Create a Backup of Your Company File
Before starting the transfer, create a complete backup of your Sage 50 company data.
- Open Sage 50.
- Select File > Backup.
- Choose a secure location such as an external drive or cloud storage.
- Complete the backup process and verify that the file was created successfully.
This backup serves as a safeguard if any issues occur during migration.
2. Install Sage 50 on the New Computer
Download and install the same version of Sage 50 on the destination computer. Using the same release helps avoid compatibility issues during restoration.
During installation:
- Enter your serial number and activation information.
- Install all available updates.
- Configure user permissions if required.
3. Transfer the Backup File
Copy the backup file from the old computer to the new system using:
- USB drive
- External hard drive
- Network share
- Secure cloud storage service
Ensure the backup file remains unchanged during the transfer process.
4. Restore the Company Data
After transferring the backup:
- Launch Sage 50 on the new computer.
- Select File > Restore.
- Browse to the backup file.
- Follow the restoration wizard.
- Verify that all company data is restored correctly.
Once completed, open the company file and review customer, vendor, payroll, and financial records.
Read: Driving Digital Transformation: The Crucial Impact of Data
5. Verify Data Integrity
Run basic checks to confirm the transfer was successful:
- Open key reports such as Balance Sheet and Profit & Loss.
- Verify customer and vendor lists.
- Review bank account balances.
- Check payroll information and employee records.
- Confirm user access settings.
These steps help identify any discrepancies before normal operations resume.
Common Issues During Sage 50 Data Transfer
Users may encounter several challenges during migration, including:
- Missing company files
- Version compatibility errors
- Activation issues
- Network path errors
- Corrupted backup files
- Insufficient user permissions
Most of these issues can be resolved by updating Sage 50, restoring from a verified backup, or reconfiguring company file locations.
Best Practices for a Smooth Migration
To minimize risks during data transfer:
- Create multiple backup copies before starting.
- Use a stable storage device for file transfer.
- Install Windows updates on the new computer.
- Ensure sufficient disk space is available.
- Test the restored company file before deleting data from the old system.
Following these best practices helps ensure a secure and efficient migration process.
Conclusion
Transferring Sage 50 data from one computer to another is a straightforward process when performed carefully.
By creating a reliable backup, installing the correct Sage 50 version, restoring the company file, and validating the transferred data, businesses can move their accounting system to a new computer with minimal downtime.
Proper planning and verification help protect critical financial information and ensure continued productivity.