Tracing a Chimney Water Leak in Lakeland Homes to Its Actual Source
One of the more frustrating patterns in chimney repair is the homeowner who's already paid for a fix that didn't work. Not because the repair was done poorly, but because it addressed the wrong location entirely.
Water stains on a ceiling several feet from the chimney, a damp smell in a closet on the far side of the chase — a chimney water leak Lakeland homeowners deal with rarely announces its actual entry point in an obvious way, and that gap between symptom and source is where a lot of repair money gets wasted.
Why Chimney Leaks Are Misleading by Nature
Water doesn't travel in straight lines once it gets inside a chimney structure. It follows gravity along whatever surface it lands on —
flashing, masonry, framing members, insulation — often traveling several feet horizontally or vertically before it becomes visible as a stain, a drip, or a musty smell. This means the ceiling spot where a leak shows up is frequently nowhere near where water is actually entering the structure.
This is the single biggest reason DIY leak fixes and quick contractor patches fail. Sealing the area directly above a ceiling stain might address nothing at all if the actual entry point is a foot of flashing eight feet away.
The Four Most Common Entry Points
Before tracing a specific leak, it helps to know where water most often gets in:
1. Chimney Crown Cracks
The crown — the concrete slab capping the top of the masonry — is exposed to more direct sun and rain than almost any other part of the structure. Cracks here let water directly into the masonry below, where it can travel down for a considerable distance before becoming visible.
2. Flashing Failures
The metal seal where the chimney meets the roofline is one of the most common failure points, particularly after storm seasons that stress the roof-chimney junction with wind-driven rain. Flashing problems often produce leaks that show up on ceilings near, but not directly under, the chimney chase.
3. Porous or Damaged Masonry
Brick and mortar are naturally somewhat porous, but when the protective water-repellent coating wears off or mortar joints deteriorate, water absorption increases significantly.
This produces a slower, more diffuse leak pattern than crown or flashing failures — often showing as gradual staining rather than a sudden drip.
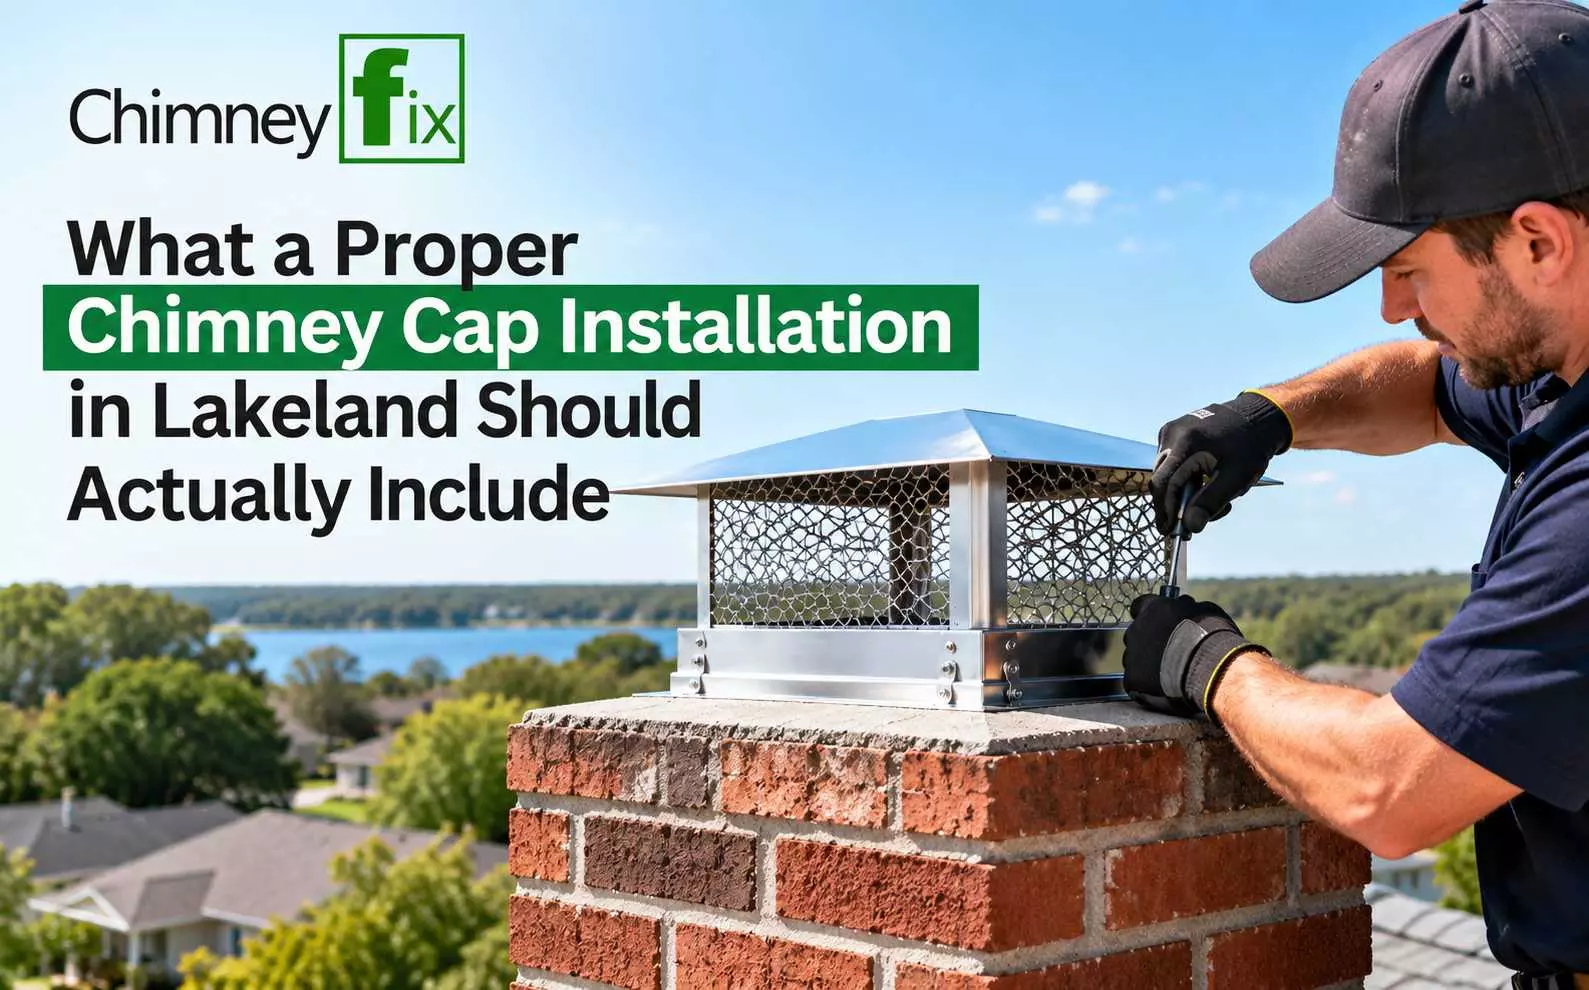
4. Missing or Damaged Cap
An uncapped or poorly sealed cap allows rain directly down the flue itself, producing leaks that show up inside the firebox rather than on exterior walls or ceilings — a pattern that's easy to mistake for condensation if the cap issue isn't checked first.
How a Proper Diagnosis Actually Works
Given how far water can travel before showing symptoms, tracing the real source requires a systematic process rather than a guess based on where the stain appears:
- Start at the top. Crown and cap condition are checked first, since gravity means issues here can produce symptoms almost anywhere below.
- Check flashing next. A visual inspection of the flashing seal, looking for lifted edges, rust, or gaps, especially after any recent storm activity.
- Assess masonry porosity. A simple water test — spraying sections of brick and watching absorption — can reveal whether the masonry itself is the primary path, distinct from a single crack or gap.
- Trace interior pathways. Where accessible, checking the attic space around the chimney chase can reveal water tracking down framing members, which often explains why a stain appears well away from the chimney's actual footprint.
- Rule out condensation. Occasionally what looks like a leak is actually flue condensation from temperature differentials, particularly in chimneys with metal liners — a different problem with a different fix entirely.
Read: How to Do a Chimney Inspection for Safer Heating?
Why Skipping This Process Leads to Repeat Repairs
We've evaluated a number of chimneys where a previous contractor sealed an obvious crack, charged for the visit, and the leak returned within a season.
In one case, a homeowner had paid for crown resealing twice in three years for a leak that turned out to originate at a flashing gap on the opposite side of the chimney from where the ceiling stain appeared.
The crown genuinely did have minor cracking — it just wasn't the actual source of the water reaching the ceiling. Once the flashing was properly resealed, the leak stopped entirely.
This is a useful illustration of why "there's a crack, seal the crack" isn't always the fix, even when the crack is real and worth addressing eventually.
What This Means for Homeowners
If you're dealing with a recurring or newly discovered leak, the most useful thing you can do before calling anyone is note exactly where the water shows up, how it behaves during and after rain (immediate versus delayed), and whether it correlates with wind direction or storm intensity.
That information genuinely helps narrow down the likely source before a technician even arrives, and it's worth mentioning during the initial call rather than waiting to bring it up on-site.
For general background on chimney water intrusion patterns, the Chimney Safety Institute of America publishes reference material on common leak sources and diagnostic approaches that's useful for understanding the basics before scheduling a professional evaluation.
If you're dealing with a leak that's resisted a previous fix, this closer look at how chimney leaks are traced to their actual source walks through the diagnostic process in more detail for Central Florida chimneys specifically.
The Bottom Line
A chimney leak's visible symptom and its actual cause are often in two different places, and that mismatch is exactly why accurate diagnosis matters more than a fast patch.
Taking the time to trace the real entry point — rather than sealing the first crack that's visible — is what separates a repair that actually holds from one that's likely to resurface next storm season.