Step-by-Step Guide to Engine Removal and Installation
Engine removal and installation is not just about turning wrenches. It takes planning. It takes space. It takes the right steps in the right order. One wrong move can cost hours. If you are working on your daily driver or restoring an old car, you need a clear method. No short tricks, just proper work. The process is direct but it needs focus. This guide breaks it down into simple tasks you can follow without confusion.
No need for advanced tools, just patience and proper engine handling.
First Essential Steps
Disconnect the Battery
Start by cutting all power. Remove the negative cable first. Then the positive. This keeps the electronics safe. It also prevents short circuits while removing components. Do not skip this step. Safety starts here.
Drain All Fluids
You need to drain the engine oil first. Then move to the coolant. Use proper containers. Open the radiator drain and engine block plug. Let the fluids fully drain. Do not leave old fluid in lines. It makes a mess later. Keep the work area clean.
Remove the Hood
Removing the hood gives you full access. Mark the hinge positions before removing bolts. Get someone to help. It is heavy and awkward to lift alone. Store the bolts safely. Keep the hood away from your work area.
Disconnect the Air Intake and Exhaust
Remove the intake assembly from the throttle body. Take off the air filter housing. Pull out sensors and hoses. Then go under the car. Unbolt the exhaust manifold from the downpipe or header. Use penetrating oil if bolts are rusted. Label all parts for reinstallation.
Label and Remove Wiring Harness
Take photos before disconnecting anything. Use masking tape to label each plug. Disconnect the ECU harness. Remove ground wires and main connectors. Set the harness aside or tie it up. Keep it out of the way during engine removal.
Disconnect Fuel Lines and Linkages
Depressurize the fuel system. Then remove the fuel lines from the rail. Catch any leaking fuel in a pan. Remove throttle and cruise cables. Unclip the shift linkage if it runs over the engine. Get every line and cable out of the way.
Remove Radiator and Cooling Components
Drain the radiator fully. Remove both radiator hoses. Take out the radiator and fan shroud. Pull the heater core lines from the firewall. Set all hoses aside. Do not let old coolant sit in them.
Unbolt Motor Mounts
Support the engine with a hoist. Then unbolt both motor mounts. Check the condition of the mounts. If they look torn or worn, plan to replace them. Do not leave worn mounts in during installation.
Unbolt Transmission from Engine
Support the transmission with a jack. Unbolt the bell housing bolts. Remove the starter. Disconnect the torque converter bolts or clutch bolts if manual. Once separated, the engine is ready to lift.
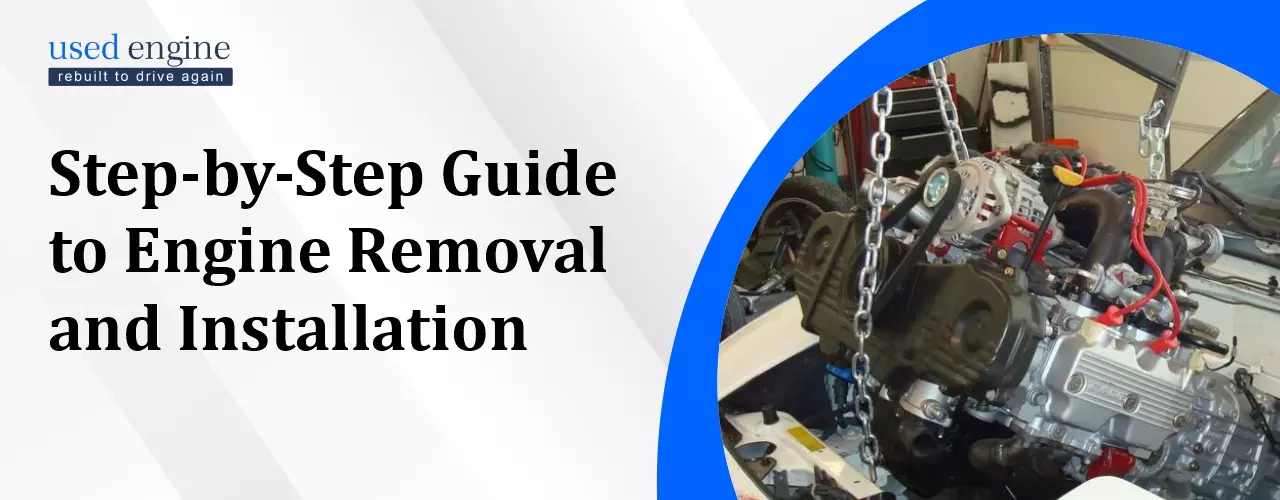
Lift the Engine Out
Connect the hoist chain to the engine lift points. Double-check all lines are disconnected. Lift slowly. Watch for anything still attached. Guide the engine up and out of the bay. Move it to a stand or safe area for inspection.
Prepare for Reinstallation
Before installing, clean the engine bay. Replace worn mounts. Install new gaskets if needed. Make sure all sensors and lines are ready. Installation takes less time than removal if everything is prepped.
Lower Engine Back Into Bay
Use the hoist to lower the engine carefully. Align the mounts. Set the engine gently into place. Tighten the motor mount bolts. Make sure the engine sits square and flat. Double-check all connections.
Reattach Transmission
Slide the transmission into place. Align the bell housing. Install and tighten bolts in sequence. Reinstall the torque converter or clutch. Mount the starter again. Check for proper clearance before moving forward.
Reconnect Fuel, Wiring, and Cooling
Install the fuel lines. Attach the wiring harness plug by plug. Follow your labels. Install radiator and hoses. Connect heater lines. Add new coolant and bleed the system. Clean up any spills.
Install Air Intake and Exhaust
Reinstall the intake system. Attach all sensors and hoses. Bolt the exhaust manifold back in place. Tighten all bolts. Make sure everything is sealed. Do not leave gaps or broken gaskets.
Add Fluids and Connect Battery
Add engine oil. Fill coolant. Reconnect battery cables. Negative goes last. Double-check all fittings and bolts. Look for leaks or loose parts. Take your time.
First Start and Inspection
Start the engine. Let it idle. Watch for leaks. Check oil pressure. Listen for any noise. Do not rev. Let the engine reach temperature. Check the coolant level again. If everything holds, the job is done right.
Conclusion
Engine removal and installation are not something that can be done in a hurry. With a little patience and a keen eye, it can be done right. Each step matters, from draining fluids to the first start. There is no shortcut. If you take your time and stay organized, the process stays clean. The engine runs better. You avoid damage. Follow each step with care. Use the right tools. Trust the process. That is how good engine removal and installation gets done the right way.