Stamped Concrete Process: What You Need to Know
Stamped concrete is a type of concrete that enhances the beauty of other building materials. Stamping concrete can be a lengthy and hard procedure. However, this type of concrete can help exemplify your existing landscape, adding appeal to your outdoor space and helping increase your home’s value.
Stamped concrete is getting popular day by day in the construction sector. People who live in urban areas are adapting this technique. Plus, stamped concrete provides an ambient appearance with its wide range of designs.
So, stamped concrete is one of the best options to choose when it comes to achieving strength. If you are worried about managing your budget, then it is recommended to outsource Concrete Estimating Services to a professional company. SMA Estimating LLC is one of the top estimating firms in the US, assisting contractors, builders, and proprietors. Well, first, it is important to understand the process of stamped concrete.
Stamped Concrete Explained!
Stamped concrete is a unique option for renovation, remodeling, and experimenting with distinct textures and colour. No doubt, it is a cheaper option due to stone, brick, wood, and slate.
Where is stamped concrete used?
The following list is provided for our readers to understand where stamped concrete is mostly used:
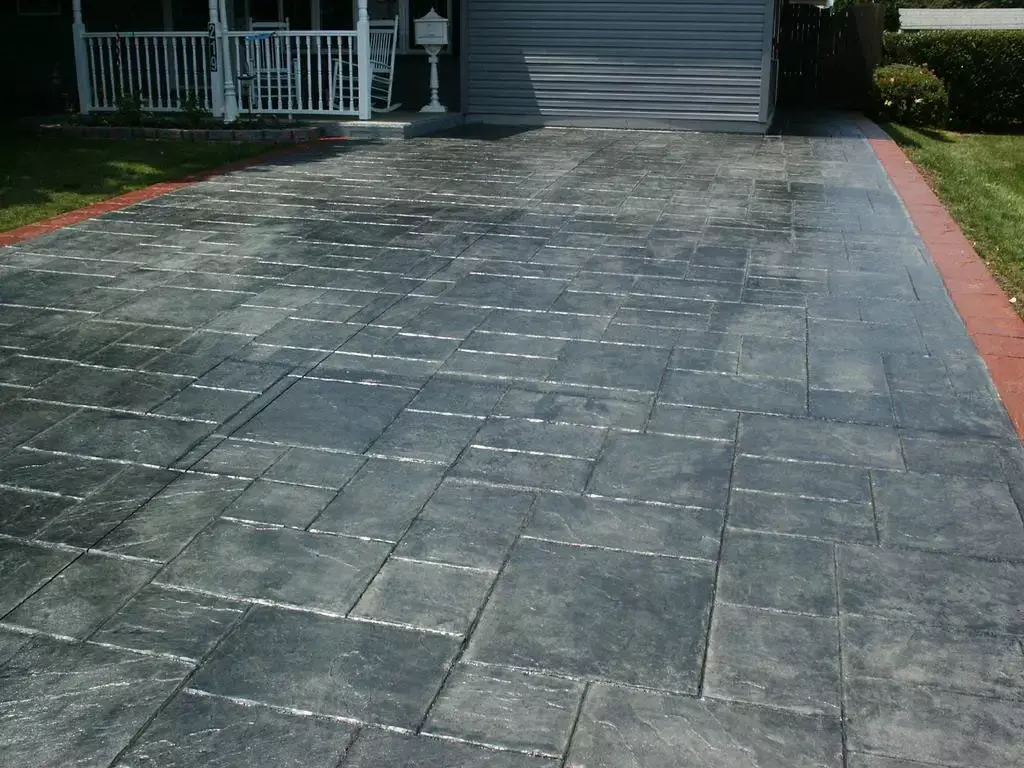
- Driveways
- Patios
- Walkways
- Pool decks
- Courtyards
- Sidewalks
- Entryways
- Interior floors
- Commercial plazas
- Garden paths
- Parking lots
- Garage floors
- Outdoor kitchens
- Hotel lobbies
- Shopping centers
- Restaurant floors
- Basement floors
- Retaining wall caps
- Stair landings
- Public parks
Comprehensive Stamped Concrete Process
1. Apply color hardener
At the right stage of plasticity, color hardener is broadcast onto the surface from waist level or a bit lower so that the minimum amount of material strays away. It is applied from the middle towards the edges so that a heavy buildup of color hardener is avoided. When the first shake of colour hardener is applied, it should be left for 10 minutes so that water can be absorbed from the concrete. After the first layer is applied, follow the same steps to apply the second layer so that complete coverage is assured.
2. Check if the concrete is ready
Concrete should be thoroughly tested before the stamping process, so that it has reached the right amount of plasticity. Otherwise, it would not be firm enough to hold the weight of labourer or maintain a well-defined print. If stamping is done a little late, it will be of no use as it will take more time and effort, as well as no texture with the stamps will be produced.
3. Remove residual and apply curing compound
Curing compounds can not be applied on the coloured hardened concrete surface until you have washed the residual release at least a day before. After the surface is completely cleaned and dried, a liquid form of membrane, which is referred to as a curing compound, helps seal the moisture in the concrete.
4. Install joints
When control joints are cut down at proper spacing and depth after the placement is smooth, it helps in avoiding uncontrolled random cracking. Joints can be placed into the concrete as it begins to set, and it can be cut down with the help of a blade or a saw. Usually, a sawed joint is less distinctive as compared to the joint that has been cut.
5. Seal the concrete
After the slab has formed prominently, a final coat is applied, called the sealer. Most people who provide concrete services recommend that the layer be applied several weeks later. It is recommended that the sealer should not be applied heavily as it would entrap moisture. The most effective way to apply sealer is by combining both spraying and rolling, especially when it has grout lines.
Conclusion
It can be summed up by saying that if a person is using a stamped concrete pattern for the first time, it should first be practice on compacted sand before doing it on the concrete. Pattern repetition should be avoided at all costs. If stamp mats are coated with a release agent, it will provide a bond-breaking so that a clean imprint is ensured. It should be ensured that the release agent is properly compressed into the concrete by the stamp, or else it will be washed away.