Protecting Your Masonry: A Comprehensive Guide to Chimney Crown Repair and Water Damage Prevention
For most homeowners, the chimney is an out-of-sight, out-of-mind architectural feature. As long as smoke drafts properly during a winter fire, the exterior masonry rarely gets a second thought.
However, from a structural engineering and masonry perspective, your chimney is one of the most vulnerable points on your home’s exterior. It stands fully exposed to the elements, enduring wind, driving rain, and punishing temperature fluctuations.
At the very top of this structure sits the first line of defense: the chimney crown. When this single component fails, it triggers a cascading series of water damage that can compromise your home’s entire roofing and venting system.
Understanding the mechanics of masonry water damage, and why top-down maintenance is critical, can save property owners thousands of dollars in avoidable reconstruction.
What Exactly is a Chimney Crown?
Before diagnosing structural issues, it is essential to understand chimney anatomy. Many homeowners—and even some general contractors—confuse the crown with the cap.
The Concrete Shield
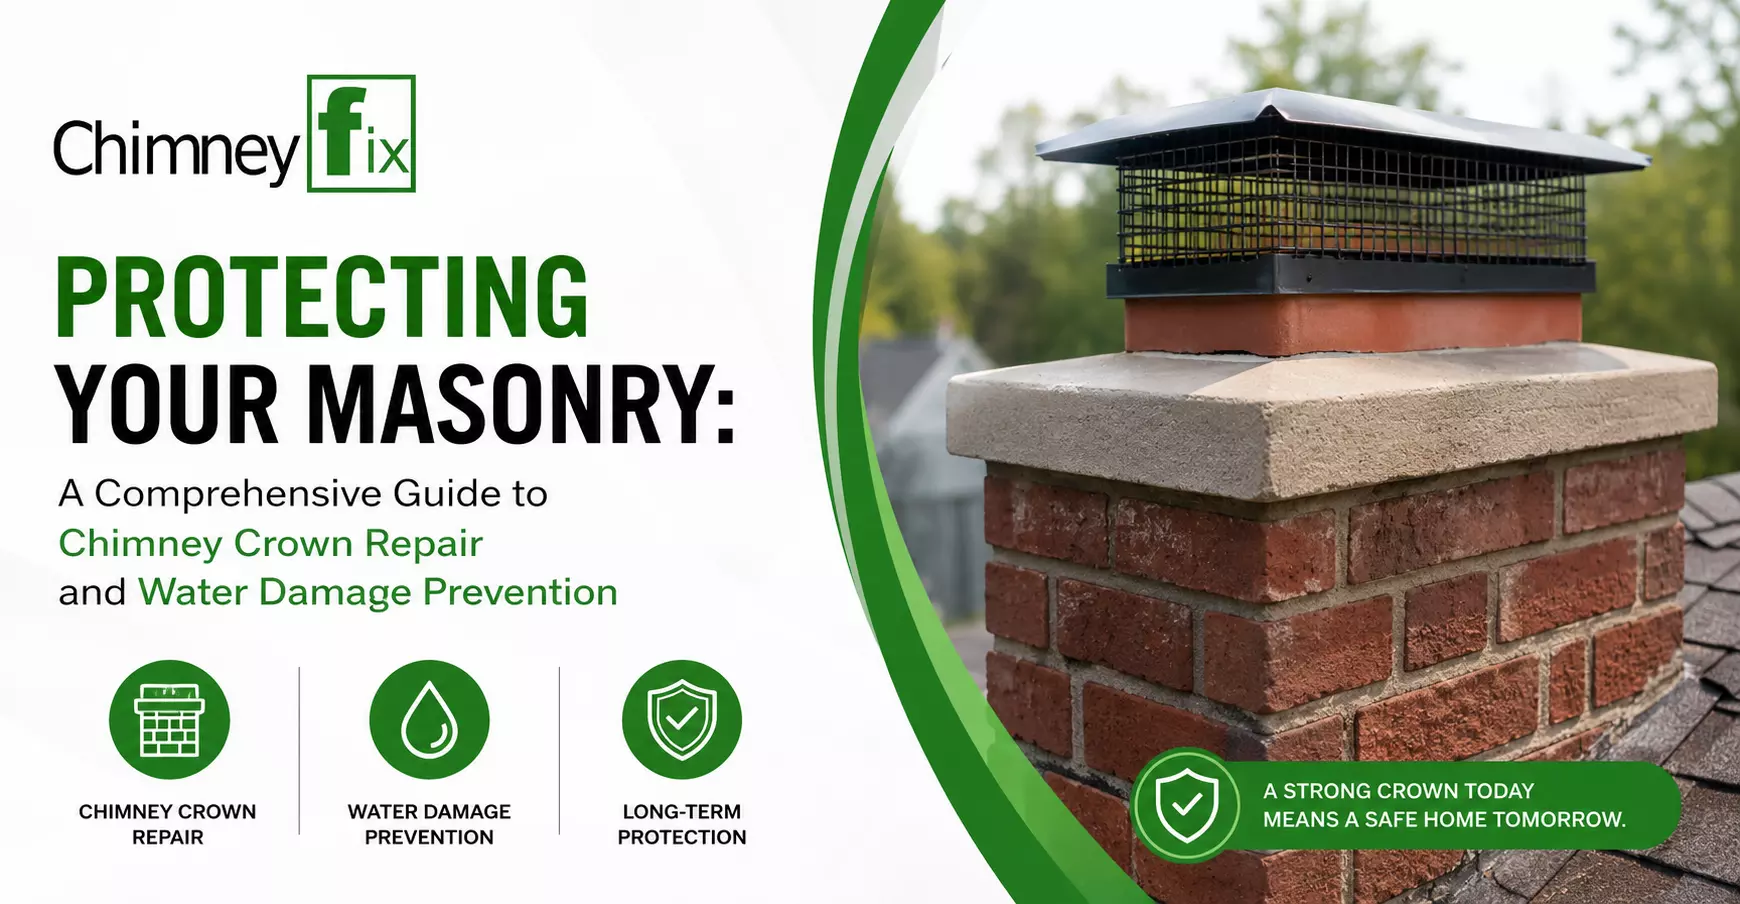
The chimney crown (sometimes called a crown wash or splay) is the thick concrete or mortar pad poured at the very top of the masonry chimney. It covers the opening around the clay flue liners, bridging the gap between the exterior brickwork and the venting pipe.
A properly constructed crown is not perfectly flat. It should be built with a slight downward slope to shed rainwater away from the flue.
Furthermore, building codes mandate that a high-quality crown should feature an overhang of at least two inches past the brickwork, complete with a "drip edge" underneath. This design ensures that water falls directly onto the roof rather than running down the vertical face of the masonry.
Crown vs. Cap: Clearing the Confusion
To prevent misdiagnosis, here is a quick distinction:
Component
Material
Primary Function
Placement
Chimney Crown
Poured concrete or masonry
Seals the top of the brickwork; directs water off the masonry structure.
The solid top layer of the chimney itself.
Chimney Cap
Stainless steel, copper, or galvanized metal
Keeps rain, birds, and debris out of the actual flue opening.
Bolted or friction-fit onto the protruding flue liner.
You can have a brand-new, top-of-the-line stainless steel cap, but if the concrete crown sitting beneath it is cracked, your chimney is still entirely exposed to water infiltration.
The Anatomy of Crown Failure: How Water Infiltrates
Concrete and brick are highly durable, but they share one massive vulnerability: they are porous. When a chimney crown develops even a hairline fracture, a devastating process begins.
The Freeze-Thaw Cycle
In climates that experience cold winters, water seepage is a masonry system’s worst enemy. When rainwater or melting snow finds its way into a cracked crown, the moisture saturates the concrete and the underlying mortar joints. As the temperature drops below freezing at night, that trapped water turns to ice.
Because water expands by about 9% when it freezes, it exerts immense hydraulic pressure on the surrounding masonry. This microscopic expansion forces the cracks wider. When the ice melts the next day, it leaves behind larger voids, which then collect even more water.
After just a few seasons of this freeze-thaw cycle, a hairline fracture can evolve into a massive structural failure.
Spalling Bricks and Deteriorating Mortar
If crown deterioration is ignored, water travels downward into the main body of the chimney. This leads to spalling—a condition where the face of the brick literally pops off, leaving the softer inner clay exposed to the weather.
Simultaneously, the mortar joints between the bricks will begin to wash out, a condition that eventually requires extensive tuckpointing to prevent a total chimney collapse.
Spotting the Early Warning Signs
Proactive homeowners should inspect their chimneys (from the ground with binoculars, or during annual roof cleanings) twice a year. Waiting until water is dripping into the firebox is a costly mistake.
Exterior Clues
- Visible Fissures: Any visible cracking on the top concrete pad.
- Efflorescence: White, powdery stains on the exterior brickwork. This is caused by water migrating through the masonry and leaving salt deposits on the surface as it evaporates.
- Vegetation Growth: Moss or small weeds growing out of the chimney are a guaranteed sign of heavy moisture retention.
- Rust Staining: Brown streaks running down the chimney usually indicate that water is pooling on the crown and rusting the base of the metal cap or flashing.
Interior Clues
- Spongy Drywall: Moisture damage on the walls or ceiling immediately surrounding the fireplace.
- Peeling Wallpaper or Blistering Paint: Caused by trapped moisture attempting to escape the masonry through the interior walls.
- Musty Odors: A damp, basement-like smell coming from the firebox after a heavy rainstorm.
The Process of Professional Restoration
Repairing a chimney crown is not a one-size-fits-all process. The intervention required depends entirely on the severity of the decay.
1. Resurfacing (For Minor Cracks)
If the crown is structurally sound but suffering from minor surface cracking, a complete teardown isn't necessary. A technician will clear away biological growth and loose debris using a stiff brush. Once prepped, they apply a specialized, elastomeric masonry sealant.
Unlike standard concrete, these heavy-duty sealants remain flexible after curing, allowing them to expand and contract with the chimney during extreme temperature swings without breaking the waterproof seal.
2. The Complete Crown Rebuild (For Structural Failure)
If the concrete has severe structural cracks, missing chunks, or lacks a proper overhang, applying a surface-level sealant won't hold. In these cases, reaching out to certified masons for a professional chimney crown repair is the only way to restore the watertight seal and protect the underlying brickwork.
A professional rebuild involves several strict steps:
- Demolition: Chipping away the old, degraded mortar and concrete down to the first solid layer of brick.
- Forming: Building a wooden form around the top of the chimney to create the necessary two-inch overhang.
- Bonding: Applying a bonding agent to the top layer of brick so the new concrete adheres permanently.
- Pouring: Using a high-strength Portland cement mixture (never standard mortar, which degrades too quickly when laid horizontally).
- Shaping: Troweling the wet concrete to create a steep splay from the flue liner down to the edges, ensuring rapid water runoff.
- Curing: Allowing the concrete to cure properly before removing the wooden forms and sealing the edges.
Why Timely Intervention Matters: A Cost Analysis
The phrase "an ounce of prevention is worth a pound of cure" was likely written by a mason. Delaying exterior venting maintenance causes repair costs to increase exponentially.
Consider a real-world scenario based on national averages:
- Preventative Sealing: Sealing hairline fractures early might cost a few hundred dollars.
- Crown Rebuild: Waiting until the crown is crumbling usually pushes the cost between $1,000 and $3,000, depending on accessibility and chimney size.
- Total Chimney Rebuild: If that crumbling crown is ignored for another three to five years, water will destroy the structural integrity of the bricks. Tearing down and rebuilding a chimney from the roofline up can easily cost between $5,000 and $10,000+.
Read: How to Do a Chimney Inspection for Safer Heating?
DIY Maintenance vs. Professional Masonry Work
With the rise of online video tutorials, many homeowners attempt to patch their own crowns using caulk or standard roofing tar. This is strongly discouraged by the Chimney Safety Institute of America (CSIA).
Roofing tar dries out, cracks, and peels away from masonry within a single year under direct UV sunlight. Furthermore, patching over saturated brick traps moisture inside the chimney, accelerating the freeze-thaw damage from the inside out.
Working at roof heights also introduces significant safety hazards. Proper masonry restoration requires scaffolding, harnesses, heavy buckets of wet cement, and specialized trowel techniques to achieve the correct slope and drip edges.
Because venting systems are directly tied to the fire safety and air quality of your home (specifically regarding carbon monoxide venting), structural repairs should always be executed by vetted, insured professionals.
The Bottom Line
Your chimney is tasked with exhausting highly toxic gases and intense heat from your home, while simultaneously battling the harshest weather mother nature can provide. The crown is the helmet of this entire system.
By conducting bi-annual visual inspections and addressing minor masonry fractures before they evolve into major structural gaps, you protect the aesthetic appeal of your brickwork, ensure the safety of your fireplace, and preserve the long-term equity of your home.