Logo Digitizing and JPG to DST: A Complete Guide for Embroidery Enthusiasts
Embroidery has evolved significantly with the advancement of digital technology. Whether you're a business owner looking to brand your merchandise or a hobbyist creating custom designs, understanding logo digitizing and converting JPG to DST (a common embroidery file format) is essential.
In this comprehensive guide, we’ll explore:
- What logo digitizing is and why it’s important
- The process of converting JPG to DST for embroidery machines
- Key differences between image formats and embroidery files
- Best practices for high-quality digitized designs
- Common challenges and how to overcome them
By the end, you’ll have a clear understanding of how to transform a simple logo or image into a stitch-perfect embroidery file.
What is Logo Digitizing?
Logo digitizing is the process of converting a graphic or logo into a digital embroidery file that an embroidery machine can read and stitch onto fabric. Unlike printing, embroidery involves thread and needles, meaning the design must be translated into precise stitch patterns.
Why is Digitizing Important?
- Machine Compatibility – Embroidery machines require specific file formats (like DST, PES, or EXP).
- Stitch Accuracy – A well-digitized logo ensures clean, professional stitching without errors.
- Material Adaptability – Different fabrics (cotton, polyester, denim) require different stitch settings.
- Brand Consistency – High-quality digitizing maintains the integrity of your logo across various products.
Common Embroidery File Formats
- DST (Tajima) – Most widely used in commercial embroidery.
- PES (Brother) – Popular for home embroidery machines.
- EXP (Melco) – Used in industrial embroidery machines.
- JEF (Janome) – Compatible with Janome machines.
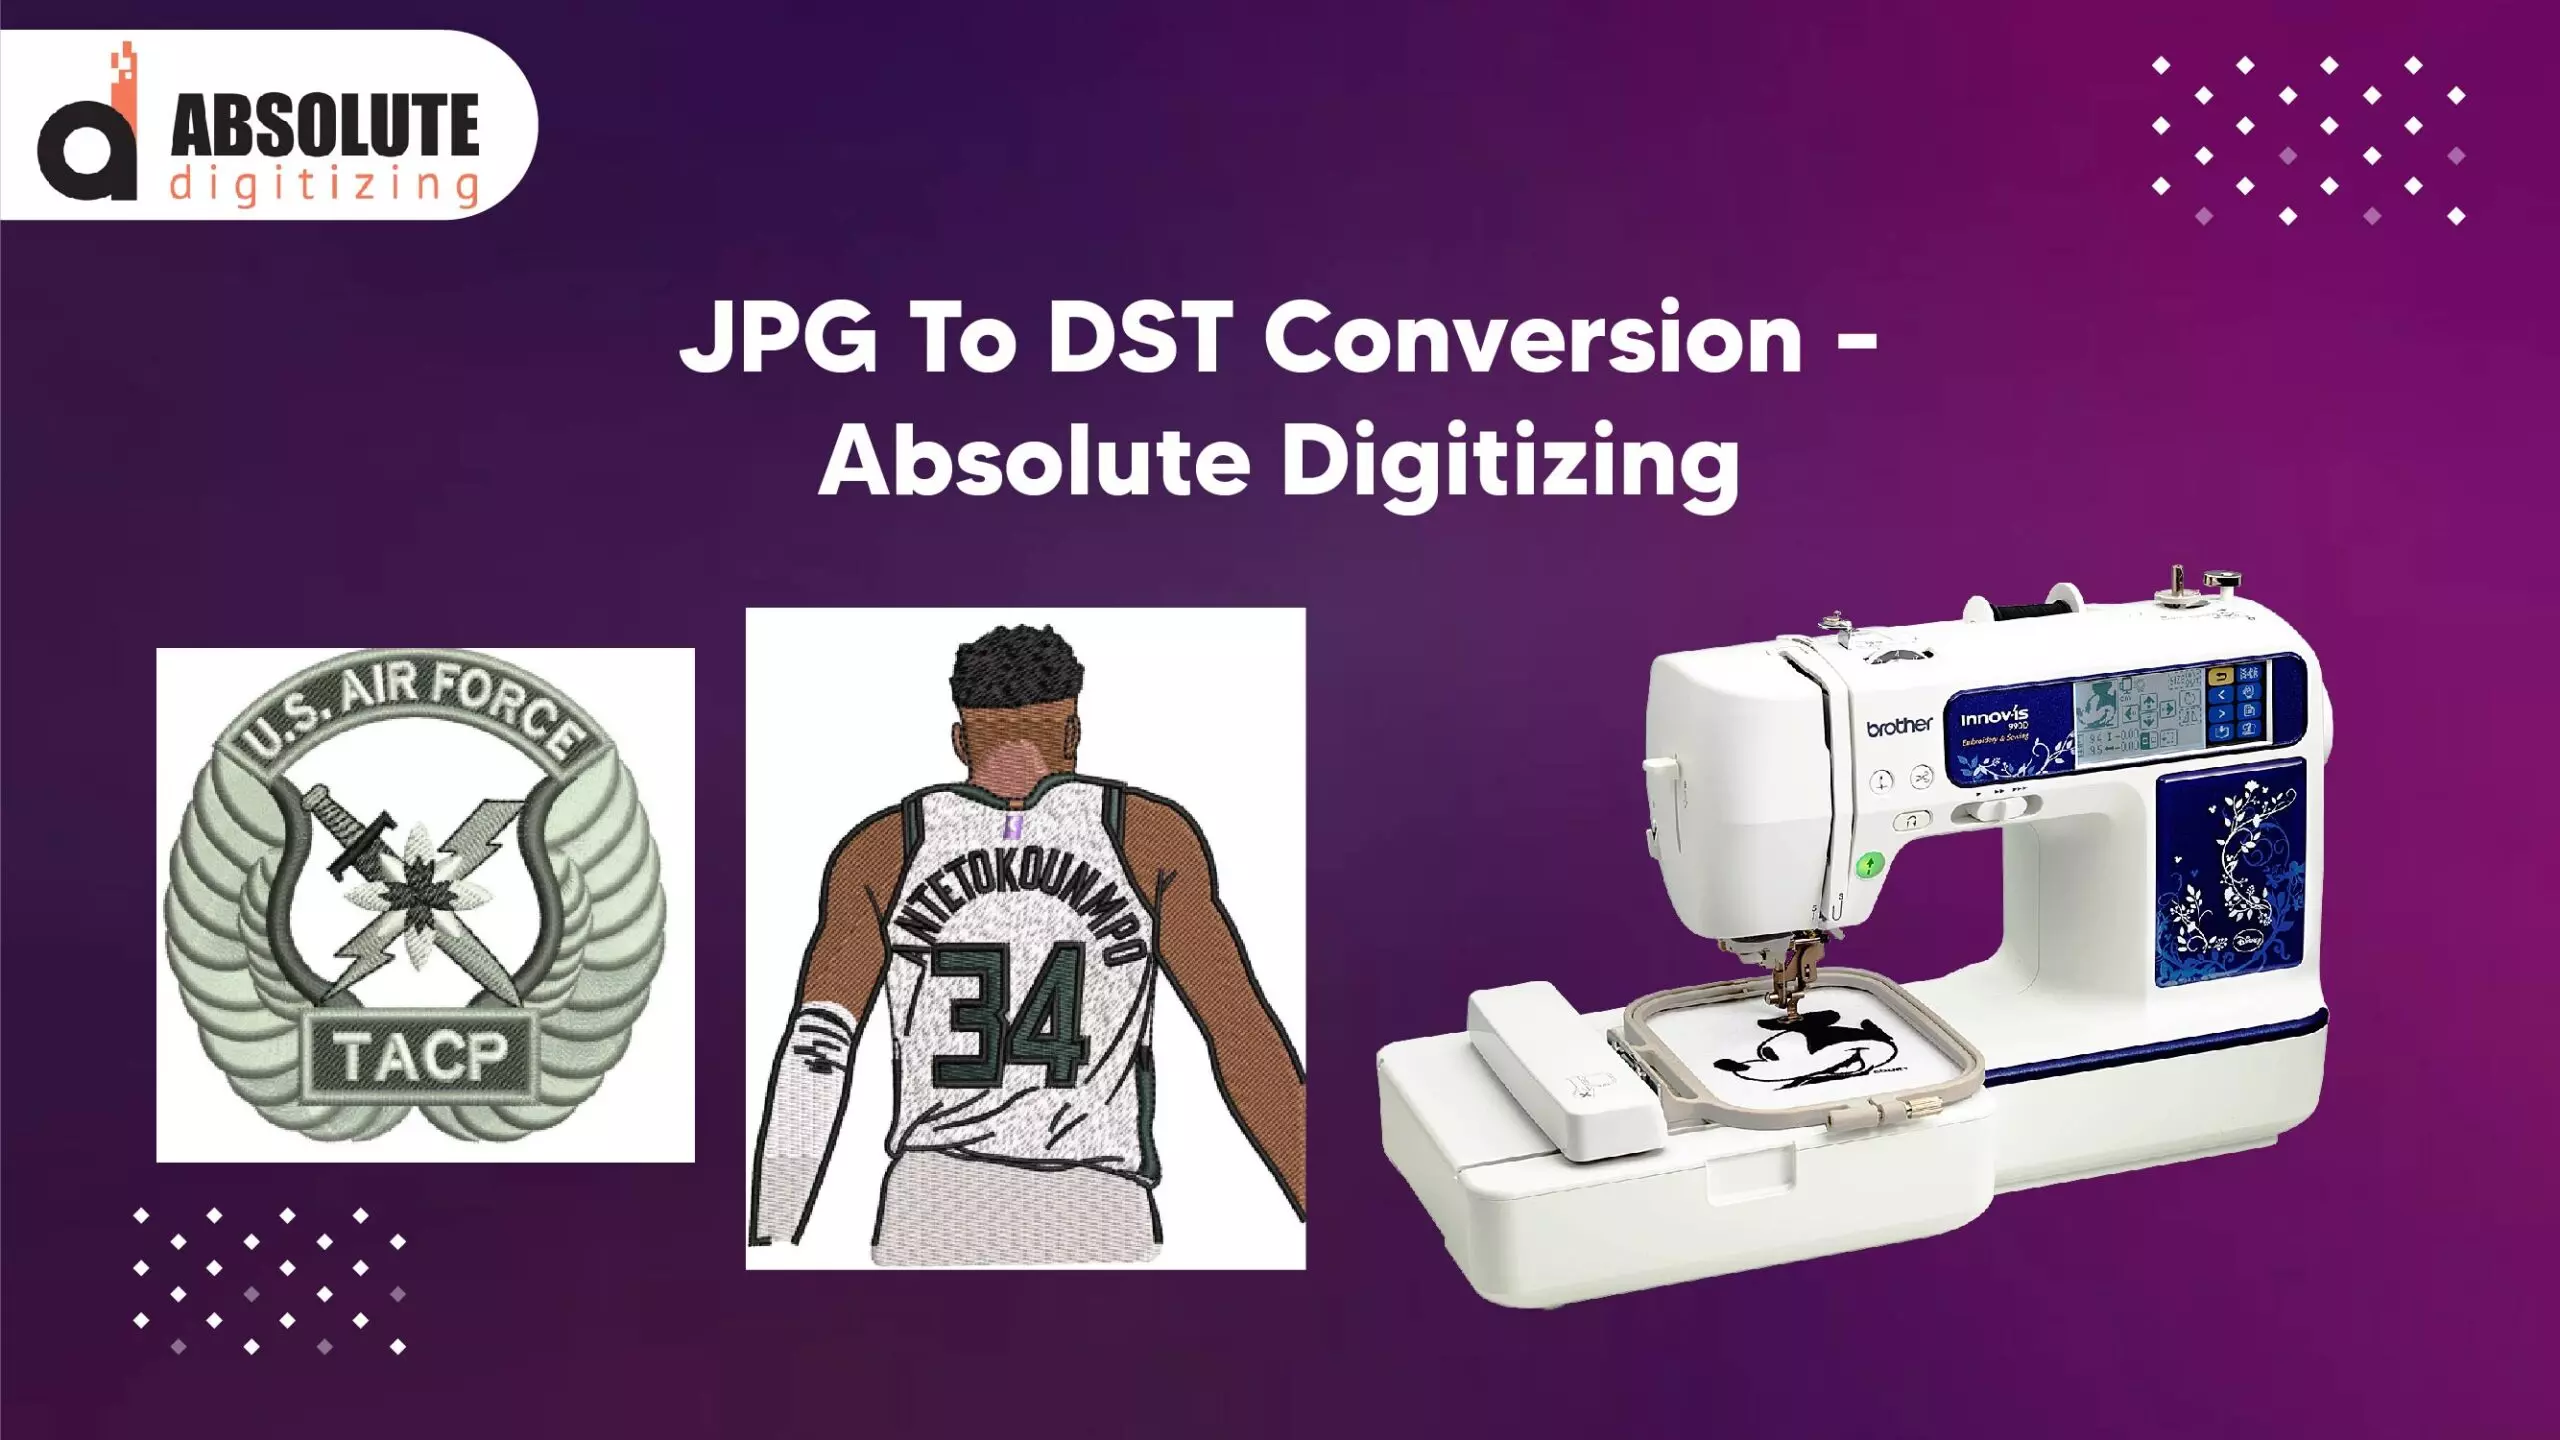
How to Convert JPG to DST for Embroidery
A JPG (or PNG) is a raster image made of pixels, while a DST file contains stitch commands for embroidery machines. Converting JPG to DST requires specialized software and expertise.
Step-by-Step Conversion Process
1. Choose the Right Image
- High-resolution logos (300 DPI or higher) work best.
- Simple designs with clear outlines digitize more effectively than complex, gradient-heavy images.
2. Use Digitizing Software
Popular digitizing software includes:
- Wilcom EmbroideryStudio (Industry standard)
- Hatch Embroidery (User-friendly for beginners)
- SewArt (Auto-digitizing option)
- Ink/Stitch (Free, open-source alternative)
3. Manual vs. Auto-Digitizing
- Auto-Digitizing – Software converts the image automatically, but results may need manual adjustments.
- Manual Digitizing – A professional digitizer manually assigns stitch types (satin, fill, running stitches) for better quality.
4. Adjust Stitch Settings
- Stitch Type – Satin stitches for outlines, fill stitches for larger areas.
- Density – Too many stitches can cause fabric puckering; too few may look sparse.
- Underlay – Provides stability, especially for stretchy fabrics.
5. Test the Design
- Stitch out a sample on similar fabric to check for errors.
- Adjust tension, pull compensation, and stitch direction if needed.
6. Save as DST
Export the file in DST format, ensuring compatibility with most embroidery machines.
Key Differences Between JPG and DST Files
FeatureJPG (Raster Image)DST (Embroidery File) Format Type Pixel-basedStitch-basedScalability Loses quality when enlargedRetains stitch integrity at any size Editing Easy to modify in PhotoshopRequires digitizing software UsagePrinting, digital mediaEmbroidery machines
Best Practices for High-Quality Digitizing
1. Simplify Complex Designs
- Too many small details may not stitch well.
- Combine similar colors to reduce thread changes.
2. Choose the Right Stitch Types
- Satin Stitch – Best for text and borders.
- Fill Stitch – Ideal for large, solid areas.
- Running Stitch – Used for fine details and outlines.
3. Optimize for Fabric Type
- Stretchy Fabrics (T-shirts, fleece) – Use stabilizers and lighter stitch density.
- Thick Fabrics (Denim, canvas) – Increase stitch density for better coverage.
4. Minimize Thread Trims
- Arrange elements to reduce jumps and trims for efficiency.
5. Use Professional Digitizing Services (If Needed)
If you lack experience, hiring a professional digitizer ensures flawless results.
Common Challenges in Logo Digitizing & Solutions
1. Poor Image Quality
- Solution: Start with a high-resolution vector file (AI, EPS, SVG) if possible.
2. Stitch Distortion
- Solution: Adjust pull compensation and use proper underlay stitches.
3. Thread Breaks or Tension Issues
- Solution: Check machine tension and use quality embroidery thread.
4. Small Text Not Stitching Clearly
- Solution: Avoid fonts smaller than 0.2 inches; use bold, simple typefaces.
Conclusion
Logo digitizing and converting JPG to DST are crucial skills for anyone involved in embroidery. Whether you're digitizing a company logo or a custom design, understanding the process ensures professional, high-quality results.
Key Takeaways:
✔ Use high-resolution images for the best digitizing outcome.
✔ Choose the right stitch types (satin, fill, running) based on the design.
✔ Test the embroidery file before mass production.
✔ Consider professional digitizing services for complex logos.
By following these guidelines, you can transform any JPG into a flawless DST file ready for embroidery. Happy stitching!