How to Pack Smartly for a Winter Kuari Pass Trek
1. Introduction
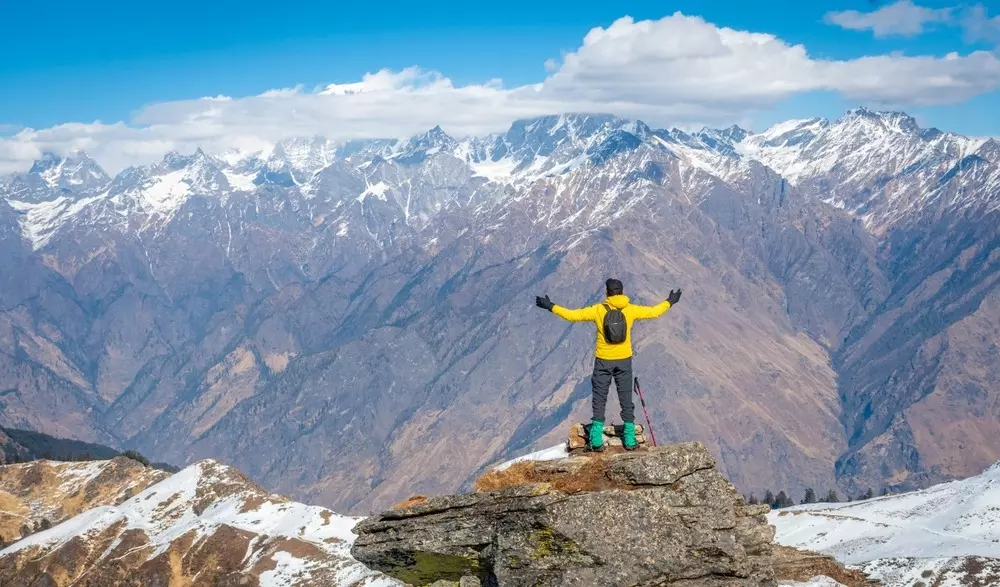
The Kuari Pass winter trek is a dream adventure for many trekkers, offering breathtaking views of the Himalayas, including peaks like Nanda Devi and Kamet. But while the snow-covered landscapes are mesmerizing, trekking in winter is a completely different challenge compared to summer or autumn. Cold temperatures, unpredictable weather, and high-altitude conditions mean that every piece of gear I packed had to be carefully chosen.
Before starting my trek, I did extensive research on what to carry, what to avoid, and how to pack efficiently. I knew that overpacking would slow me down, while underpacking could leave me vulnerable to extreme weather. Through trial and error, I figured out the perfect packing strategy that kept me warm, light, and comfortable throughout the journey. In this guide, I’ll share exactly what I packed and why, so you can plan your own trek with confidence.
2. Understanding the Challenges of a Winter Kuari Pass Trek
Before even thinking about what to pack, I had to understand the environment I was heading into. The Kuari Pass trek is not your average hike—it involves walking through deep snow, dealing with freezing winds, and managing altitude sickness as you climb to 12,500 feet above sea level.
One of the biggest challenges is the temperature drop—during the day, it can be as warm as 5°C, but at night, it can plummet to -10°C or even lower. The body struggles to maintain warmth, and without the right clothing and gear, hypothermia can become a real danger. Additionally, the high altitude can cause acute mountain sickness (AMS), which is why I had to plan my hydration, rest, and medication carefully. Understanding these challenges helped me make informed choices about what to carry. If you’re planning your Kuari Pass trek and looking for a trusted trekking company,
I highly recommend The Searching Souls. They offer expert guides, well-planned itineraries, and high-quality gear, ensuring a safe and enjoyable experience in the Himalayas.
3. Choosing the Right Backpack
Your backpack is your lifeline on a trek—it holds everything you need, so choosing the right one was my top priority. I opted for a 50L backpack with an ergonomic design, ensuring it was lightweight yet spacious enough for all my essentials. A poorly chosen backpack can cause back pain, imbalance, and discomfort, which is the last thing you want on a multi-day trek.
I made sure my backpack had:
- Water-resistant material to prevent snow and moisture from seeping in.
- Adjustable, padded straps for comfortable weight distribution.
- Several sections to maintain equipment accessibility and organisation.
- A built-in rain cover, providing extra protection in case of snowfall.
The way I packed my bag was equally important—I placed heavier items like my sleeping bag at the bottom, frequently used items at the top or side pockets, and kept emergency essentials easily accessible.
4. Layering System: Dressing for the Cold
Dressing correctly was the most important part of preparing for the Kuari Pass trek. Instead of carrying just one heavy jacket, I followed the layering system, which helped me stay warm while maintaining flexibility and comfort.
Base Layer (Moisture-Wicking Layer)
The base layer is designed to wick away sweat and keep my skin dry. I chose:
- A merino wool thermal top and bottom for warmth without overheating.
Synthetic moisture-wicking socks to keep my feet dry and prevent blisters.
Mid Layer (Insulation Layer)
The mid-layer traps body heat, keeping me warm in freezing temperatures. My choices included:
- A fleece jacket for insulation.
- A lightweight down jacket, which is warm yet compressible.
- Insulated trekking pants to prevent heat loss from my legs.
Outer Layer (Weather Protection Layer)
The final layer protected me from wind, snow, and rain. I packed:
- A windproof, waterproof jacket with a hood.
- Hard-shell pants to keep my legs dry in the snow.
To prevent heat loss, I also carried a woolen beanie, gloves, a neck gaiter, and sunglasses for snow glare protection.
5. Essential Trekking Gear for Winter
Clothing isn’t enough—I needed specialized trekking gear to navigate the snowy trails safely. Some of the most essential items included:
- Trekking poles: Crucial for maintaining balance, especially on slippery ice patches.
- Gaiters: These covered the gap between my boots and pants, preventing snow from getting inside my shoes.
- UV-protected sunglasses: Snow blindness is a real problem in high-altitude regions.
- Headlamp: Winter days are short, so a headlamp was necessary for early morning or late evening treks.
Each of these items helped make my trek easier and safer in harsh winter conditions.
6. Footwear: Choosing the Right Trekking Shoes and Socks
One of the most important decisions I had to make was choosing the right trekking shoes. Many people underestimate how crucial proper footwear is for a winter trek, but walking on snow-covered trails for hours is no joke. Wet, cold feet can make your experience miserable and even dangerous. I made sure to invest in high-ankle, waterproof trekking boots that provided excellent insulation and grip. The waterproofing was essential because walking through snow can quickly soak your shoes if they’re not well protected.
In addition to my boots, I packed thick woolen socks that provided both warmth and comfort. I carried at least four pairs, changing them every day to keep my feet dry. Wearing two pairs of socks at night inside my sleeping bag helped keep my feet warm. To further prevent snow from getting into my shoes, I used gaiters—these covered the gap between my boots and pants, ensuring no snow or moisture entered.
7. Sleeping Essentials for Cold Nights
I quickly learned that staying warm at night is just as important as keeping warm during the trek. Since temperatures can drop to -10°C or even lower, I had to ensure that my sleeping gear was up to the task. My most important investment was a sleeping bag rated for at least -10°C. A regular sleeping bag wouldn’t have provided the insulation needed in such extreme cold.
To further enhance my warmth, I carried a lightweight insulating sleeping mat. Many people don’t realize that sleeping directly on the tent floor absorbs body heat, making it harder to stay warm. My sleeping mat provided an extra layer of insulation, preventing heat loss. Additionally, I packed a fleece liner inside my sleeping bag, adding extra warmth without adding much weight to my backpack. Without these essentials, I wouldn’t have been able to get a good night’s sleep after a long trekking day.
8. Food and Hydration Planning
The body burns more calories in cold conditions, which meant I had to eat the right food to keep my energy levels up. I packed high-energy snacks like dry fruits, nuts, protein bars, and chocolates that provided quick energy boosts. Since food options at high altitudes are limited, I also carried instant soups, ready-to-eat meals, and tea bags. A hot meal after trekking for hours in the cold was an absolute lifesaver!
One major challenge I faced was preventing my water from freezing. Carrying a regular water bottle wouldn’t work in sub-zero temperatures because the water would freeze inside. Instead, I used insulated water bottles to keep my drinking water warm. I also made sure to drink plenty of water despite the cold—dehydration can worsen altitude sickness, so staying hydrated was a top priority for me.
9. First Aid Kit and Medical Essentials
Since I was trekking in a remote, high-altitude region, I knew I had to be prepared for any medical emergencies. My first aid kit included:
- Altitude sickness medication (Diamox) to prevent AMS (Acute Mountain Sickness).
- Pain relievers for muscle soreness.
- Bandages, antiseptics, and blister plasters for minor injuries.
- Personal prescription medicines in case of unforeseen health issues.
I also carried oral rehydration salts (ORS) to help with hydration in case I felt dehydrated. At high altitudes, even small health issues can become major problems, so having the right medication gave me peace of mind.
10. Packing Lightweight Yet Effective Toiletries
While hygiene is important, I didn’t want to overpack bulky toiletries. I focused on carrying only the essentials, including:
- Biodegradable soap and wet wipes for quick cleaning (since taking a shower in freezing temperatures wasn’t an option).
- Sunscreen (SPF 50+) and lip balm with SPF to prevent sunburn and chapped lips.
- To minimise room, bring a toothbrush and toothpaste in travel size.
- A microfiber quick-dry towel, which was compact and dried fast.
Keeping my toiletries simple helped me stay fresh without adding unnecessary weight to my backpack.
11. Gadgets and Accessories for Trekking
While I wanted to disconnect from technology and enjoy nature, I still carried a few essential gadgets:
- A power bank (20,000 mAh) since cold temperatures drain battery life quickly.
- A GPS device with offline maps, as mobile networks were unreliable in remote areas.
- A camera with extra cold-resistant batteries to capture the stunning views.
I made sure to keep my batteries warm by storing them inside my sleeping bag at night. This prevented them from dying too quickly in the cold.
12. Packing Smart: Weight Distribution and Organization
Packing efficiently made a huge difference in my overall comfort during the trek. I followed these simple rules:
- Heavy items (sleeping bag, extra clothing) at the bottom of my backpack.
- Medium-weight items (food, cooking gear, toiletries) in the middle.
- Lightweight, frequently used items (gloves, headlamp, snacks) at the top or side pockets.
Using waterproof pouches to store electronics and documents helped me keep my gear safe from snow and moisture.
13. Eco-Friendly Trekking: Leave No Trace
Being a responsible trekker was important to me, so I made sure to minimize my environmental impact by following these eco-friendly practices:
- Carrying a reusable water bottle and utensils instead of using single-use plastics.
- Disposing of waste properly and carrying my trash until I could dispose of it responsibly.
- Using biodegradable soap and toiletries to avoid polluting water sources.
- Respecting nature by not disturbing wildlife or damaging the trails.
I strongly believe that we should leave the mountains as beautiful as we found them for future trekkers.
14. Final Checklist Before the Trek
Before starting my trek, I did a final cross-check to make sure I had everything I needed. Here’s a quick recap of my Kuari Pass trekking checklist:
✅ Backpack (50-60L) with rain cover
✅ Layered clothing (base, mid, and outer layers)
✅ Waterproof trekking boots and woolen socks
✅ Sleeping bag (-10°C or lower) and sleeping mat
✅ Trekking poles, gaiters, and headlamp
✅ High-energy food and insulated water bottles
✅ First aid kit and personal medications
✅ Power bank, camera, and GPS device
✅ Eco-friendly toiletries and waste bags
By double-checking my packing list, I avoided any last-minute surprises and ensured that I was fully prepared for the trek.
15. Conclusion
Packing smartly for the Kuari Pass winter trek was a learning experience, but in the end, it made all the difference. By focusing on layering clothes, choosing quality trekking gear, and packing efficiently, I was able to enjoy the trek without unnecessary discomfort.
If you’re planning a winter trek to Kuari Pass, my biggest advice is to prepare well, pack smartly, and enjoy every moment of the breathtaking Himalayan adventure. The right gear can mean the difference between a comfortable, enjoyable trek and a miserable one—so take the time to plan wisely. Happy trekking!
FAQs
1. What is the best way to keep water from freezing during the trek?
Using insulated water bottles and keeping them inside my backpack close to my body heat helped prevent freezing.
2. Are trekking poles necessary for Kuari Pass in winter?
Yes, trekking poles provide stability on snow-covered trails and help reduce strain on the knees.
3. What kind of sleeping bag should I carry?
A sleeping bag rated for at least -10°C is recommended to stay warm at night.
4. How do I prevent altitude sickness?
Staying hydrated, ascending gradually, and taking Diamox (if needed) helped me acclimatize properly.
5. Can I complete the Kuari Pass trek without a guide?
While experienced trekkers can go solo, hiring a guide is recommended for first-timers in winter conditions.