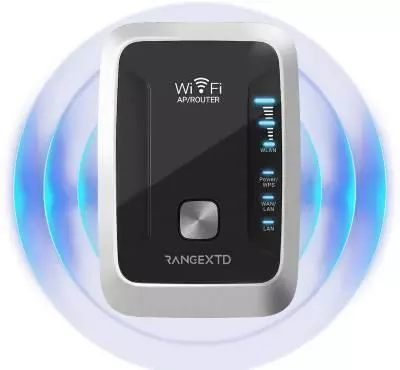
How to Configure the RangeXTD Booster in Access Point Mode
The RangeXTD WiFi Booster features a mode switch that lets you toggle between Access Point Mode and Extender Mode using the built-in Slider Button. This guide walks you through setting up the booster in Access Point Mode, and how to switch it to Extender Mode, using both the physical switch and the device’s web-based interface.
Steps to Set Up the RangeXTD Booster as an Access Point
To use your booster in Access Point Mode, follow these simple instructions:
- Move the Mode Selector to the Access Point setting.
- Plug the booster into a wall outlet and power it on.
- Connect it to your main router using an Ethernet cable.
- Plug one end into the booster’s Ethernet port, and the other into the router’s LAN port.
Configure via Web Interface
Now that the hardware is set up, you’ll need to configure the booster through its login page:
- Connect your computer to the booster’s WiFi using the default SSID.
- Open a web browser and type 192.168.7.234 into the address bar.
- On the login screen, enter your password (default is admin, if unchanged).
- Once logged in, select the current WiFi network and proceed to the Create New Network section.
- Choose a new network name (SSID) and password, or match your router’s details for a seamless experience.
- Click Create and wait for the device to reboot.
- Once restarted, your booster will be operating in Access Point Mode and ready to use.
Switching the Booster to Extender Mode
To use the RangeXTD as a WiFi range extender:
- Power off the device.
- Move the Mode Selector to the Extender setting.
- Plug the booster back in and switch it on.
You can now link it to your router using either the WPS method or manual setup.
WPS Setup
- Press the WPS button on the booster – the LED will start blinking.
- Within 60 seconds, press the WPS button on your router.
- Once the LED on the booster turns solid, the connection is successful.
- Connect to the extended network, typically named with your router’s SSID followed by _EXT, using the same password.
Manual Setup
- Connect your computer or device to the booster’s WiFi (no password required).
- Open a browser and go to 192.168.7.234.
- Enter your login password (default is admin, if not changed).
- Choose the WiFi network you want to extend.
- Enter your router’s WiFi password to connect the booster.
- On the Create Network page, set a new SSID and password, or mirror your router’s credentials.
- After setup, place the booster between your router and any area with weak signal for optimal coverage.
Helpful Tips for a Smooth Setup
- Choose the Right Location: Keep the booster and router away from interference sources like microwaves or cordless phones.
- Switch Modes While Powered Off: Always turn off the booster before changing modes via the Mode Selector.
- Use an Updated Browser: Manual setup works best on the latest version of your browser.
- Reset After Switching Modes: A quick reset after changing modes ensures proper functionality. You can also manage all settings from the web interface.
Conclusion
The RangeXTD WiFi Booster is a flexible networking device that allows you to easily switch between Access Point and Extender modes. This guide covered how to set up Access Point Mode via the web interface and how to switch to Extender Mode whenever needed. Follow the steps carefully, and you’ll enjoy improved WiFi coverage across your home or office.