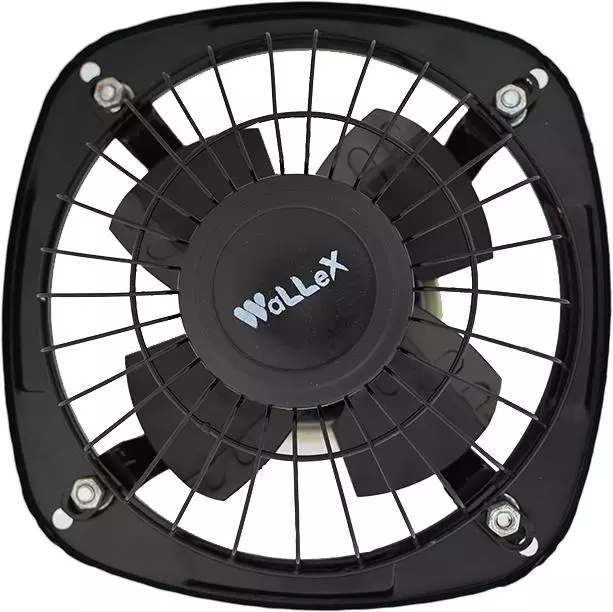
How to Clean Kitchen Exhaust Fan: A Complete Step-by-Step Guide
A kitchen exhaust fan plays a crucial role in maintaining indoor air quality by removing smoke, grease, odors, and excess heat from your cooking space. Over time, however, this essential appliance accumulates grease, dust, and grime, which can reduce its efficiency, create unpleasant odors, and even pose a fire risk. Regular cleaning of your kitchen exhaust fan is not just about hygiene—it’s about safety, performance, and extending the lifespan of the appliance.
This comprehensive guide explains how to clean kitchen exhaust fan effectively, using simple tools and methods suitable for most households.
Why Cleaning Your Kitchen Exhaust Fan Is Important
The kitchen is one of the most active areas of the home, and cooking releases grease particles that easily settle on the exhaust fan. When left uncleaned, this buildup can cause several problems:
- Reduced air circulation and suction power
- Loud or unusual noises during operation
- Lingering cooking smells
- Increased electricity consumption
- Higher risk of grease-related fire hazards
Cleaning your kitchen exhaust fan regularly ensures optimal airflow, quieter operation, and a healthier cooking environment.
How Often Should You Clean a Kitchen Exhaust Fan?
The frequency of cleaning depends on how often you cook:
- Light cooking (few times a week): Every 3–4 months
- Regular cooking (daily meals): Once every 1–2 months
- Heavy frying or commercial-style cooking: Every 2–3 weeks
Visible grease buildup, sticky surfaces, or reduced suction are signs that your exhaust fan needs immediate cleaning.
Tools and Supplies You Will Need
Before you start, gather the following items:
- Dishwashing liquid or degreasing soap
- Baking soda
- White vinegar or lemon juice
- Warm water
- Soft sponge or scrub brush
- Old toothbrush (for corners and blades)
- Microfiber cloth or paper towels
- Screwdriver (if fan disassembly is required)
- Rubber gloves
- A bucket or basin
Using mild, non-abrasive cleaners helps protect the fan’s finish and internal components.
Safety Precautions Before Cleaning
Safety should always come first when dealing with electrical appliances:
- Turn off the exhaust fan and unplug it from the power source.
- If the fan is hardwired, switch off the circuit breaker.
- Allow the fan to cool completely before cleaning.
- Wear gloves to protect your hands from grease and sharp edges.
Never clean the exhaust fan while it is connected to electricity.
Step-by-Step Guide to Cleaning a Kitchen Exhaust Fan
Step 1: Remove the Outer Cover or Filter
Most kitchen exhaust fans have a removable cover or metal mesh filter. Carefully detach it by unclipping or unscrewing it. Place the screws in a safe spot to avoid losing them.
The filter is usually the greasiest part, so removing it first makes the rest of the cleaning process easier.
Step 2: Soak the Filter in a Degreasing Solution
Fill a basin or sink with hot water and add:
- A few drops of dishwashing liquid
- 2 tablespoons of baking soda
- Optional: a cup of vinegar or lemon juice for extra grease-cutting power
Submerge the filter and let it soak for 20–30 minutes. This loosens stubborn grease and grime.
Step 3: Scrub and Rinse the Filter
After soaking, use a soft brush or sponge to scrub both sides of the filter. Pay extra attention to corners and mesh openings. Rinse thoroughly under running water until all soap residue is removed.
Shake off excess water and set the filter aside to air dry completely.
Step 4: Clean the Fan Blades
Once the filter is removed, you will see the fan blades. These often collect a thick layer of grease.
- Dip a cloth or sponge in warm, soapy water
- Gently wipe each blade, holding it steady with your other hand
- Use an old toothbrush to clean hard-to-reach areas
Avoid spraying water directly into the motor area, as moisture can damage electrical components.
Step 5: Wipe the Motor Housing Carefully
The motor housing should be cleaned with extra caution:
- Use a damp cloth, not a wet one
- Wipe away visible dust and grease
- Never submerge or directly wash the motor
If the motor area is heavily greasy, repeat gentle wiping until clean.
Step 6: Clean the Exhaust Fan Cover
The outer cover or casing often accumulates grease and dust:
- Wipe it with a sponge dipped in warm, soapy water
- Use vinegar or baking soda paste for stubborn stains
- Rinse and dry thoroughly
For plastic covers, avoid harsh chemicals that could cause discoloration.
Step 7: Clean the Surrounding Area
Don’t forget the wall and cabinet area around the exhaust fan. Grease often spreads beyond the fan itself.
- Wipe nearby surfaces with a degreaser or vinegar solution
- Dry with a clean cloth
This step helps prevent grease from quickly reaccumulating on the fan.
Step 8: Reassemble the Exhaust Fan
Once all parts are completely dry:
- Reattach the fan cover and filter
- Secure screws tightly but gently
- Restore power and turn the fan on to ensure it works smoothly
You should notice quieter operation and improved airflow immediately.
Read: Unused Cleaning Business Names 2025: Fresh Ideas
Natural Cleaning Alternatives for Grease Removal
If you prefer eco-friendly methods, natural cleaners work very well:
Baking Soda Paste
Mix baking soda with a little water to form a thick paste. Apply it to greasy surfaces, let it sit for 10 minutes, then scrub and rinse.
Vinegar Spray
Mix equal parts white vinegar and warm water in a spray bottle. Spray on greasy areas and wipe clean.
Lemon Juice
Lemon juice cuts grease effectively and leaves a fresh scent. Use it directly or mix with warm water.
These alternatives are safe, affordable, and effective for regular maintenance.
Common Mistakes to Avoid When Cleaning an Exhaust Fan
- Using steel wool or abrasive pads that scratch surfaces
- Pouring water directly onto the motor
- Reinstalling parts while still wet
- Ignoring regular cleaning schedules
- Using strong chemical cleaners that damage coatings
Avoiding these mistakes helps maintain the fan’s efficiency and appearance.
Tips to Keep Your Kitchen Exhaust Fan Clean Longer
- Turn on the exhaust fan before cooking begins
- Clean filters lightly every two weeks
- Wipe the fan exterior weekly
- Avoid excessive oil splatter while cooking
- Use a splatter guard on pans
Small, regular efforts significantly reduce grease buildup.
Benefits of a Clean Kitchen Exhaust Fan
Maintaining a clean exhaust fan offers multiple advantages:
- Better air circulation and ventilation
- Reduced cooking odors
- Lower fire risk
- Improved energy efficiency
- Longer lifespan of the appliance
A clean fan also contributes to a healthier kitchen environment for your family.
When to Consider Professional Cleaning or Replacement
If your exhaust fan:
- Makes loud or unusual noises
- Has very poor suction even after cleaning
- Shows signs of motor failure
- Is heavily clogged after years of neglect
You may need professional servicing or replacement. Regular cleaning, however, can often prevent these issues.
Conclusion
Knowing how to clean a kitchen exhaust fan is an essential household skill that improves kitchen hygiene, safety, and comfort. With simple tools, natural cleaning agents, and a little time, you can restore your exhaust fan’s efficiency and keep your cooking space fresh and odor-free.
By making exhaust fan cleaning a regular part of your kitchen maintenance routine, you ensure better airflow, reduce fire hazards, and extend the life of an appliance you rely on every day. A clean kitchen starts with clean ventilation—and your exhaust fan deserves just as much attention as any other appliance in your home.