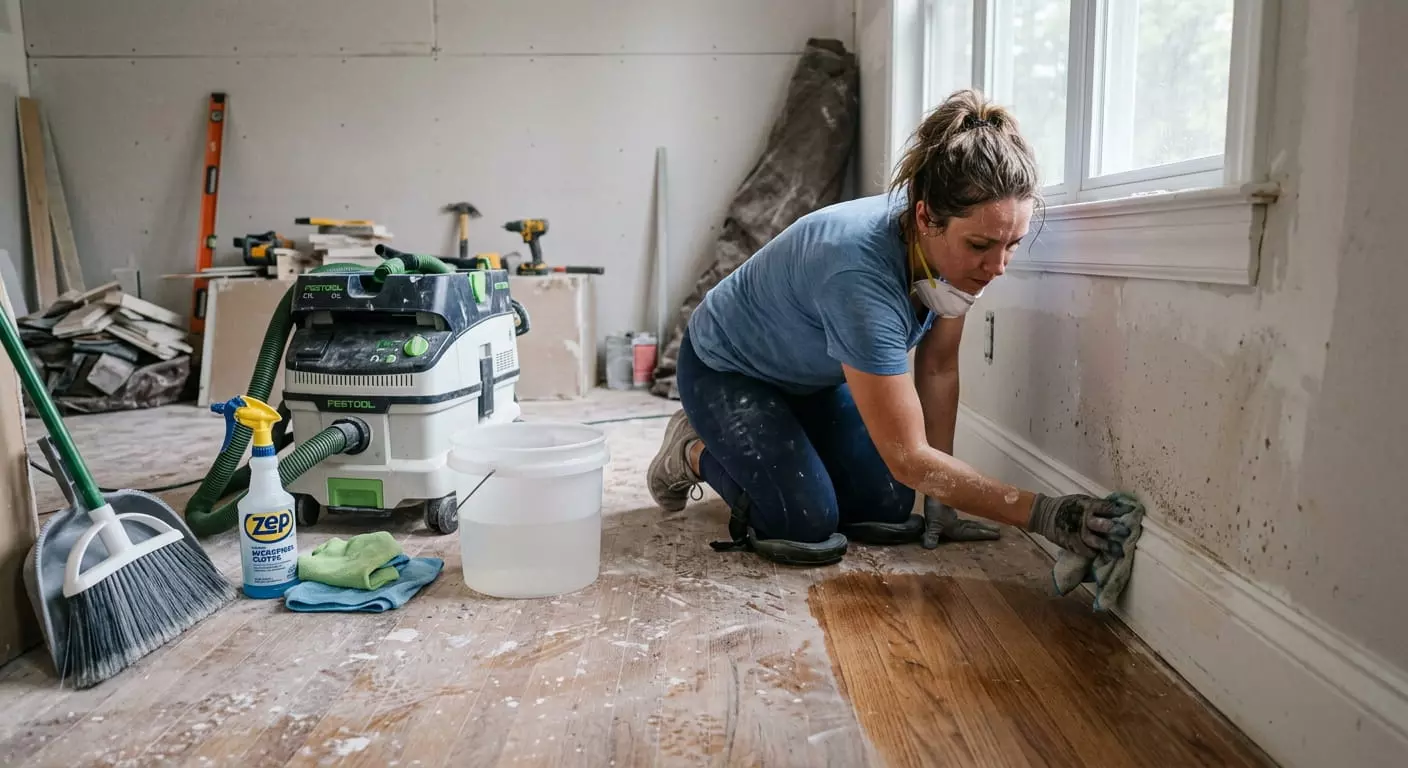
Can DIY Post Renovation Cleaning Be Effective?
Homeowners often feel a mix of excitement and overwhelm once the last contractor leaves.
Post renovation cleaning becomes the next big task, and many wonder if they can handle it themselves without calling in help.
The short answer is that DIY methods can work well for smaller projects when done carefully and thoroughly. Larger jobs or homes with heavy dust, paint residue, or fine particles often need more specialized care.
This article explores whether a do-it-yourself approach truly delivers a clean, healthy living space and shares practical guidance for those who choose to try it.
Many people start post renovation cleaning with high hopes and a few basic supplies. They sweep, wipe, and vacuum, only to notice dust still settling days later. Construction dust differs from everyday household dirt.
It contains fine particles from drywall, plaster, wood, and sometimes materials that can irritate lungs or settle deep into carpets and vents. Understanding these challenges helps homeowners decide if their DIY efforts will be enough.
Understanding the Unique Challenges of Post Renovation Cleaning
After any renovation, the space looks finished but rarely feels clean. Layers of dust cover surfaces from ceiling to floor.
Paint splatters stick to windows and fixtures. Grout haze clouds new tiles. Packaging, leftover screws, and scraps of material hide in corners. These leftovers create more work than a regular weekly clean.
Fine construction dust stays airborne longer than normal household dust. It settles into air vents, behind baseboards, inside cabinets, and deep into carpet fibers. Simply wiping surfaces with a damp cloth can turn the dust into a paste that smears rather than lifts.
Working in the wrong order often spreads the mess instead of removing it. Homeowners who skip proper steps may spend extra days redoing the same areas.
Health factors also matter. Some renovation materials release particles that can affect breathing, especially for children, older adults, or anyone with allergies.
A thorough post renovation cleaning aims to remove these residues so the home feels safe and comfortable again. DIY efforts succeed best when the person doing the work understands these issues and follows a clear plan.
Key Steps for Effective DIY Post Renovation Cleaning
A careful sequence makes the biggest difference. Starting at the top and moving downward prevents dirt from falling onto already cleaned areas.
Dry methods come before wet ones so dust does not turn sticky. The following approach has helped many homeowners achieve solid results on moderate-sized projects.
Preparing the Space Before Cleaning Begins
Clear the area of large items first. Move remaining furniture or tools out of the way. Open windows if weather allows to improve air flow. Wear a dust mask, gloves, and old clothes.
These simple preparations protect health and make the process smoother. Cover any items that must stay in the room with plastic sheets so they stay free of falling debris.
Removing Debris and Large Waste
Begin by gathering all visible scraps. Collect wood offcuts, drywall pieces, packaging, nails, screws, and empty containers.
Place them in sturdy bags or bins for proper disposal. Sweep or vacuum larger piles carefully. This step clears paths and reduces the amount of material that can create new dust later.
Many people underestimate how much waste remains after a renovation and feel surprised by the volume once they start.
Dusting from Top to Bottom
Work from ceilings and light fixtures downward. Use a soft brush or microfiber cloth attached to an extendable pole for high spots. Vacuum vents, ceiling fans, and the tops of cabinets with a brush attachment. Wipe walls, door frames, and baseboards next.
Dry dusting or vacuuming first removes the bulk of particles without smearing them. A second pass with a slightly damp microfiber cloth can follow once the dry layer is gone.
Cleaning Surfaces, Windows, and Fixtures
After the main dust leaves, focus on hard surfaces. Wipe countertops, shelves, and cabinets inside and out. Clean window tracks and sills thoroughly, as dust loves to hide there.
Remove any paint spots from glass with a plastic scraper held at a low angle, then wash the glass. Polish fixtures and hardware. In kitchens and bathrooms, pay extra attention to new installations so residue does not remain on shiny finishes.
Addressing Floors, Carpets, and Soft Furnishings
Floors come last. Vacuum hard floors thoroughly, then mop with a suitable cleaner. For carpets and rugs, a strong vacuum with a HEPA filter works best. Multiple passes help pull dust from deep fibers.
Soft furnishings such as curtains or cushions also need vacuuming or careful washing if they collected dust during the project. Leaving floors until the end stops new dirt from landing on them during earlier steps.
Improving Air Quality and Cleaning Vents
Change HVAC filters and vacuum supply and return vents. Fine dust that enters the air system can recirculate for weeks. Running the system with clean filters after the main cleaning helps refresh the air.
Opening windows for a few hours each day also supports better indoor air quality once the heavy dust is gone.
Read: Post-Construction Cleaning Checklist for Atlanta
Tools and Supplies That Support Successful DIY Results
The right equipment raises the chance of effective post renovation cleaning. A vacuum with a HEPA filter captures fine particles instead of blowing them back into the air. Microfiber cloths trap dust better than regular rags. Soft brushes reach into corners and trim.
An extendable duster helps with high ceilings and light fixtures. Mild all-purpose cleaners, glass cleaner, and a plastic scraper handle most residues without damaging new finishes.
Extra supplies include a sturdy step ladder, disposable bags, a dust mask rated for fine particles, and gloves. Some homeowners also use a wet-dry vacuum for heavier debris.
Avoid abrasive pads or harsh chemicals on fresh paint, wood, or stone, as they can scratch or dull surfaces. Having everything ready before starting prevents mid-process interruptions that allow dust to settle again.
Common Mistakes That Reduce DIY Effectiveness
Many people begin by mopping floors first. Dust from higher surfaces then falls and creates new messes. Others wet surfaces too early, turning fine powder into sticky residue that is harder to remove.
Skipping vents and cabinet interiors leaves hidden dust that later reappears. Using a regular vacuum without a HEPA filter often redistributes particles rather than capturing them.
Rushing the process ranks among the most frequent errors. A single pass rarely removes everything. Construction dust continues settling for days, so a follow-up clean a week later often proves necessary.
Homeowners who skip protective gear risk breathing in particles or irritating their skin. Recognizing these pitfalls early helps keep the effort productive.
When DIY Post Renovation Cleaning May Not Be Enough
Small bathroom updates or simple painting projects often respond well to careful DIY work. Larger renovations that involve drywall, flooring, or extensive demolition produce far more dust and residue.
Homes with high ceilings, many windows, or complicated cabinetry take longer and demand more physical effort. People with limited time, mobility challenges, or health concerns may find the task overwhelming.
In these cases, the results of DIY efforts can fall short of a truly clean home. Lingering dust affects air quality and comfort.
Professional teams bring industrial equipment, trained methods, and the ability to complete the job systematically in less time. They also know how to treat delicate new finishes without causing damage.
How Tidy Cleaning Champs Supports Homeowners After Renovations
Tidy Cleaning Champs specializes in thorough post renovation cleaning for homes of all sizes. The team follows a structured process that starts with debris removal and ends with detailed surface and floor care.
They use equipment designed to capture fine construction particles and protect newly installed materials. Clients often notice the difference in both appearance and air quality once the service is complete.
Many homeowners begin with DIY attempts and later decide to bring in Tidy Cleaning Champs for a final deep clean.
This combination can work well. The initial DIY work reduces the bulk of mess, while professional attention handles the finer details that everyday tools may miss. The brand focuses on clear communication, reliable scheduling, and results that leave spaces ready to enjoy.
Practical Tips to Improve DIY Post Renovation Cleaning Outcomes
Plan extra time. What looks like a one-day job often stretches into two or three. Work in sections rather than trying to finish the entire house at once. Keep cleaning cloths and vacuum attachments clean so they do not spread dirt.
Check progress in good light, because dust becomes more visible under bright conditions. After the main clean, return a few days later for a light second pass on surfaces and floors.
Ventilate the space regularly. Protect floors and finished surfaces with temporary coverings if any touch-up work remains. Dispose of waste according to local rules so the project ends responsibly. These habits turn an ordinary DIY attempt into a more successful one.
Final Thoughts on DIY Versus Professional Results
Homeowners who approach post renovation cleaning with patience, the right tools, and a clear sequence can achieve effective results on smaller projects. The process demands careful attention to order, dust control, and thoroughness.
Larger or more complex renovations often benefit from professional support to reach a higher standard of cleanliness and comfort.
Tidy Cleaning Champs remains available for those who prefer expert help or need assistance after an initial DIY effort. Many people discover that combining personal work with professional finishing produces the freshest, healthiest outcome.
In the end, the goal stays the same: a renovated space that feels as good as it looks, free from lingering dust and ready for daily life.